Short answer: To screen record on Windows 11, press Windows + Shift + R and drag over the area. Select Start, then Stop. For one app we press Windows + Alt + R, and Game Bar records it to Videos\Captures. We use the Snipping Tool for anything that spans windows.
To screen record on Windows 11, press Windows + Shift + R and drag over the area. Select Start, then Stop, and the Snipping Tool saves a video file. For one app or a game we press Windows + Alt + R, and Xbox Game Bar records that window to Videos\Captures.
Neither needs extra software.
- Snipping Tool: Windows + Shift + R, any area of the screen, on Windows 11.
- Xbox Game Bar: Windows + Alt + R, the active app, on Windows 10 and 11.
- Clipchamp: Microsoft’s editor, for recordings with webcam and edits.
- PowerPoint: Insert, Screen Recording, for a clip inside a slide.
The Snipping Tool steps follow Microsoft’s page Use Snipping Tool to capture screenshots.
Which recorder for which job
| Need | Tool | Why |
|---|---|---|
| Part of the screen, several windows, the desktop | Snipping Tool | You draw the area; it records whatever passes through it |
| One app or a game, including full screen | Game Bar | It follows the active window |
| A clip with your webcam and a voice-over | Clipchamp | Records screen and camera, then edits |
| A short demo inside a presentation | PowerPoint | The clip lands on the slide |
On Windows 10 the Snipping Tool doesn’t record. Game Bar does, with the same keys.
How to screen record on Windows 11 with the Snipping Tool
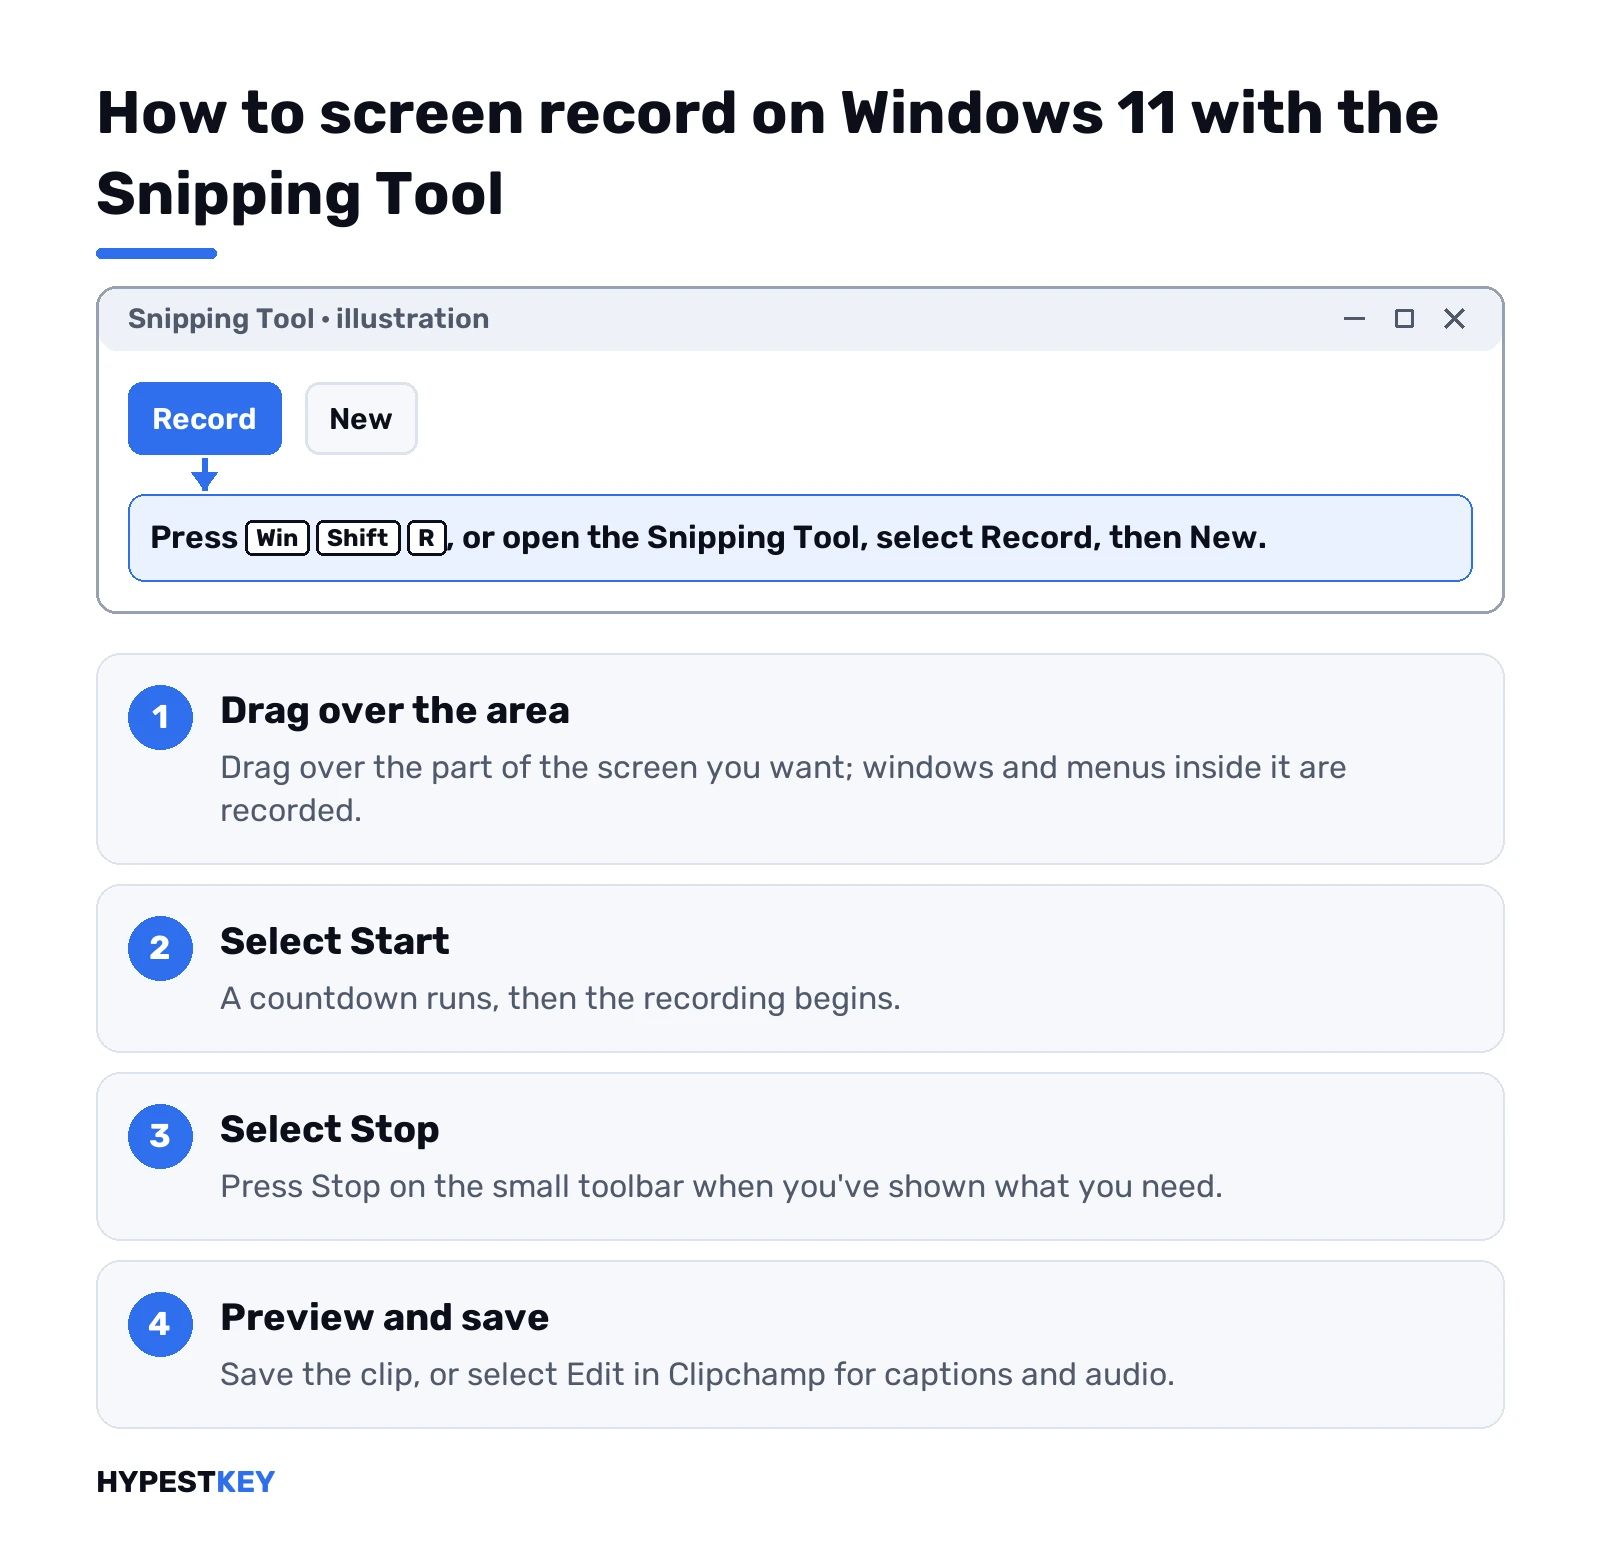
- Press Windows + Shift + R. Or open the Snipping Tool, select Record, then New.
- Drag over the part of the screen you want to record.
- Select Start. A countdown runs, then recording begins.
- Do what you want to show. Windows and menus inside the area are recorded.
- Select Stop on the small toolbar.
- Preview the clip, then save it, or select Edit in Clipchamp for captions and audio.
Microsoft’s page adds what Clipchamp can do afterwards. It transcribes the clip into captions. It adjusts the volume from 0 to 200 percent, and it can detach the audio as a separate file.
| Setting in the Snipping Tool | Where |
|---|---|
| Include microphone audio | The microphone button on the recording toolbar |
| Include system audio | The speaker button on the same toolbar |
| Save folder for recordings | See more, Settings |
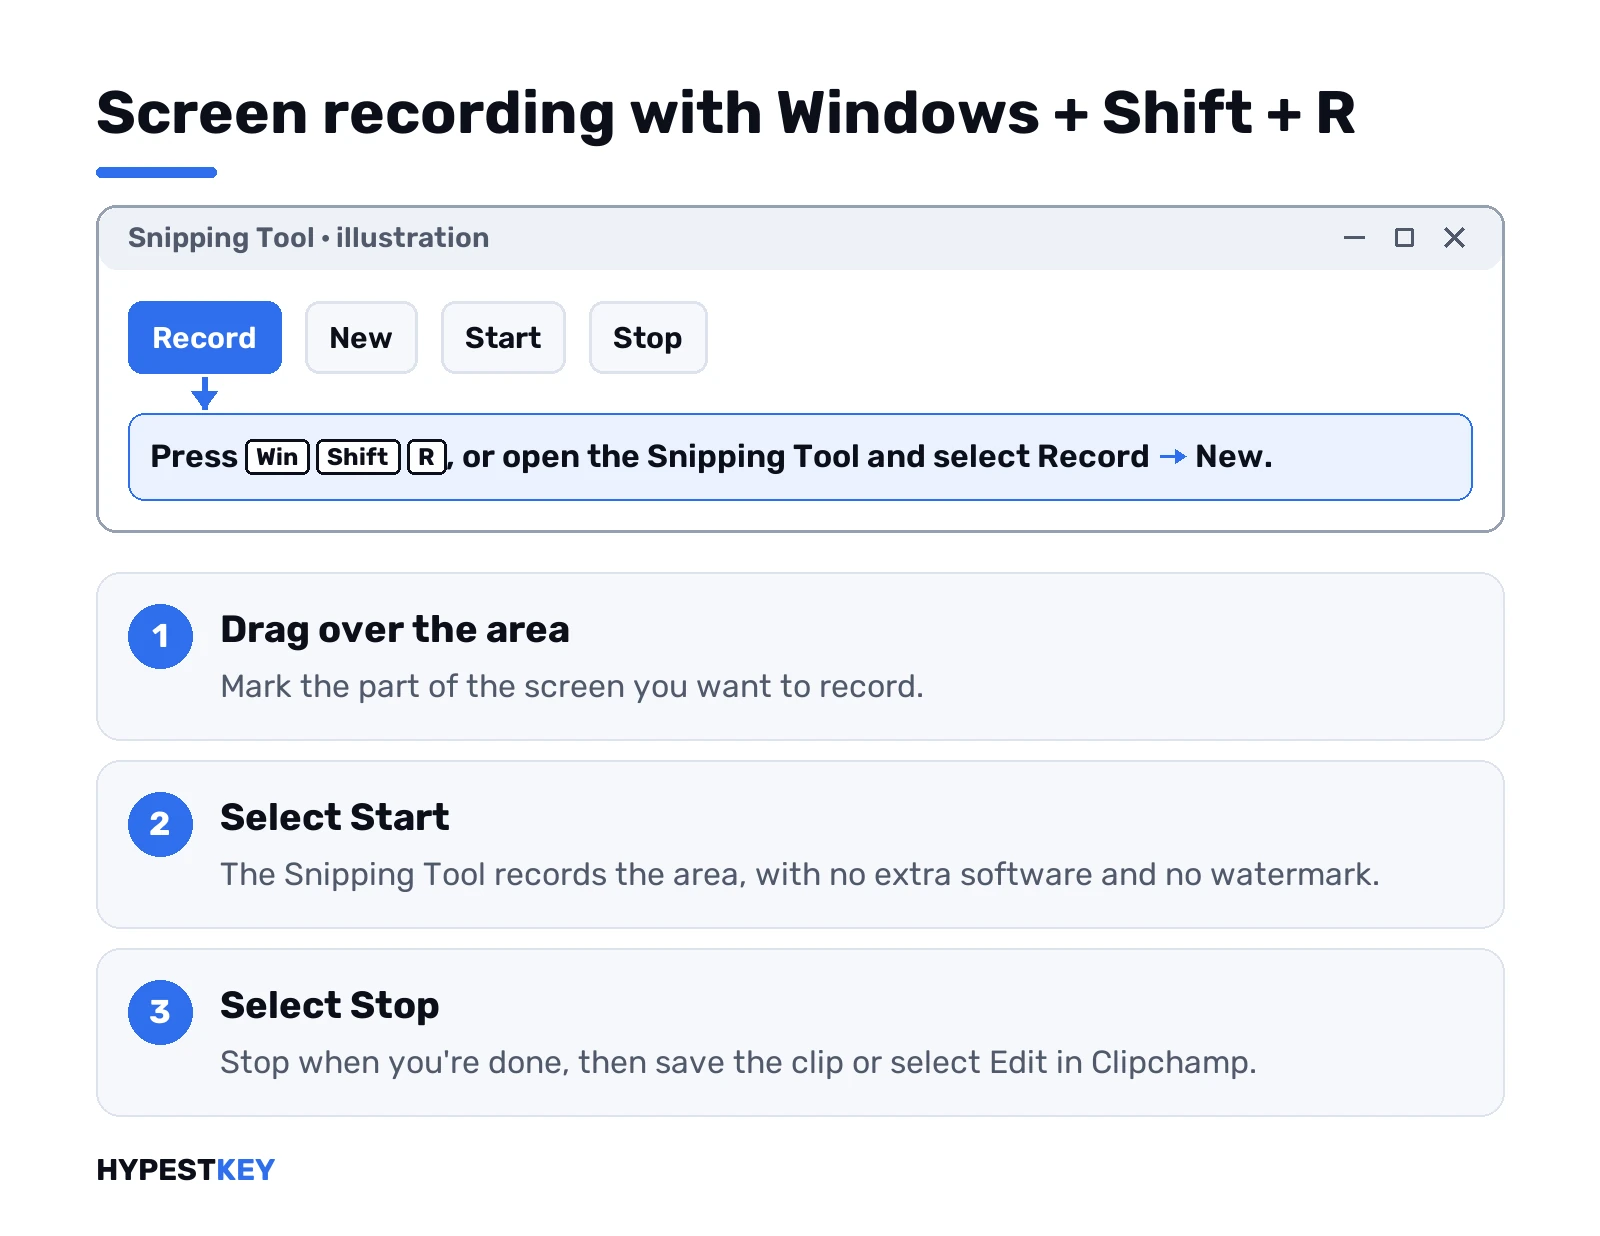
No extra software, and no watermark on the clip.
Recording one app with Game Bar
Game Bar records the active window. It was built for games and works in most other apps too.
| Keys | What happens |
|---|---|
| Windows + G | Opens the overlay with the Capture widget |
| Windows + Alt + R | Starts and stops a recording without the overlay |
| Windows + Alt + Print Screen | Takes a picture of the active app |
| Windows + Alt + G | Saves the last moments, if background recording is on in Settings |
- Click the window you want to record so it’s active.
- Press Windows + Alt + R. A small timer appears.
- Do what you want to show inside that window.
- Press Windows + Alt + R again to stop.
- Find the file in Videos\Captures, or through the Gallery in the Game Bar overlay.
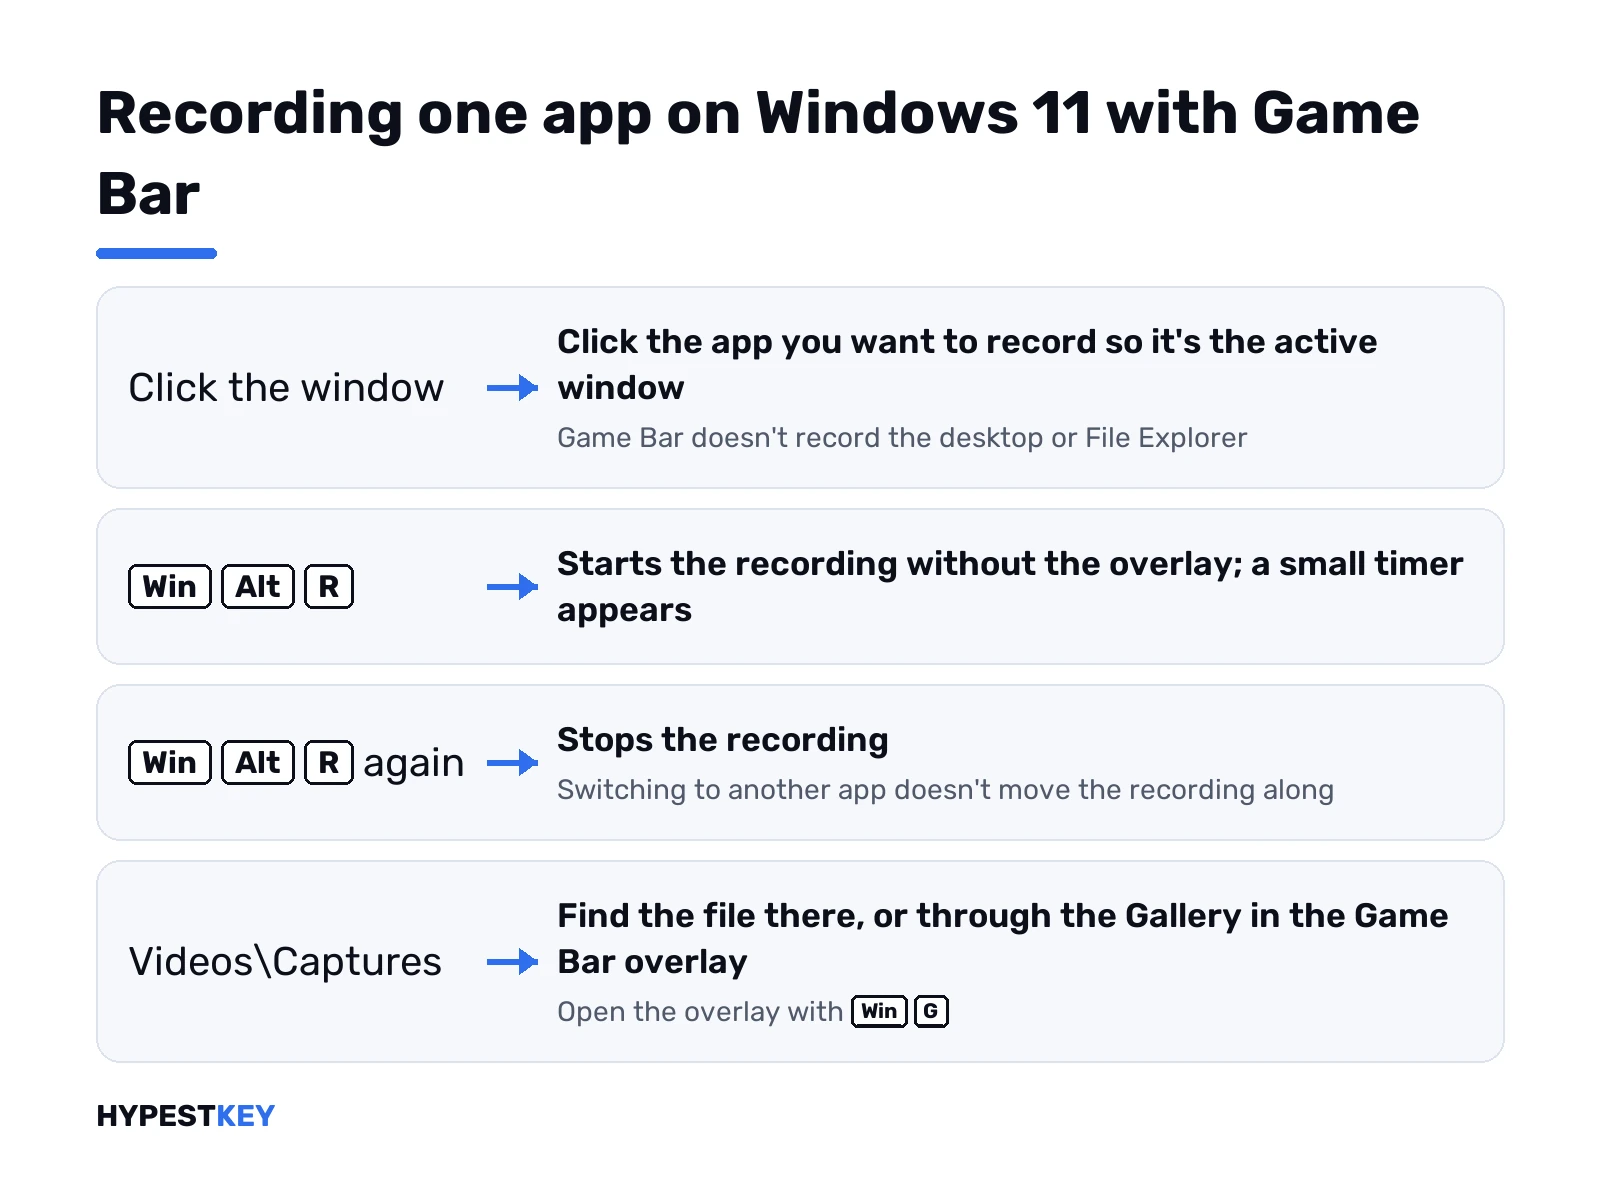
Two limits. Game Bar doesn’t record the desktop or File Explorer. And it follows one window; switching to another app doesn’t move the recording along.
Its settings live under Settings, Gaming, Captures: the folder, the audio, the quality and the maximum length of a recording.
Screen recording on Windows 11 with Clipchamp and PowerPoint
| Tool | How to start | Good for |
|---|---|---|
| Clipchamp | Open Clipchamp, create a video, select Record and create, then Screen or Screen and camera | Recordings with a webcam and a voice-over, cut and captioned in the same app |
| PowerPoint | Insert, Screen Recording, select the area, Record | A short demo that stays inside a presentation; it can also be saved as a file |
Clipchamp comes with Windows 11 and is Microsoft’s own editor. PowerPoint needs Office on the PC: see our guides to activating Office 2024 and the Office 2024 editions.
Where Windows 11 screen recordings go
| Tool | Folder |
|---|---|
| Snipping Tool | Where you save it; the app asks, or uses the folder in its settings |
| Game Bar | Videos\Captures |
| Clipchamp | Exported to the folder you choose |
| PowerPoint | On the slide; Save Media as writes a file |
Pictures taken on the way have their own folders, listed in where screenshots go on Windows 11.
When the recording doesn’t start
| Symptom | What to check |
|---|---|
| Windows + Shift + R does nothing | Update the Snipping Tool in Microsoft Store; repair it under Installed apps |
| Game Bar says nothing to record | The active window is the desktop or File Explorer; open the app first |
| Windows + Alt + R does nothing | Settings, Gaming, Xbox Game Bar: the overlay has to be allowed |
| No sound in the clip | The microphone or speaker button on the toolbar was off |
| The clip stops early | The maximum length under Settings, Gaming, Captures |
A key that fails for pictures as well is covered in Print Screen not working on Windows 11.
Related guides
- Pictures instead of video: how to screenshot on Windows.
- Sound and devices: Windows 11 Quick Settings.
- Keys in the wrong place: changing the keyboard layout in Windows 11.
- Still on the older system: Windows 11 vs Windows 10.
- How to Screenshot on a Surface
- How to Screenshot on an HP Laptop
- How to Screenshot on a Dell Laptop
- How to Screenshot on a Lenovo Laptop
- How to Screenshot on an Asus Laptop
Recording works the same on every edition: see our overview of the Windows 11 editions. For a new PC we send the Windows 11 Pro key instant to email, and every edition is under Windows 11 keys.
Common mistakes when you screen record on Windows 11
- Trying to record the desktop with Game Bar.
- Forgetting the microphone button, then re-recording the voice-over.
- Recording the whole screen when one window would do.
- Looking for Game Bar clips in Pictures.
- Showing passwords or email in the recorded area.
Terms used on this page
| Term | Meaning |
|---|---|
| Video snip | A recording made with the Snipping Tool |
| Game Bar | The Xbox overlay in Windows with its own capture tools |
| Capture widget | The Game Bar panel with the camera and record buttons |
| Clipchamp | Microsoft’s video editor included with Windows 11 |
| Background recording | The Game Bar option that keeps the last moments ready to save |
FAQ
How do I screen record on Windows 11?
Press Windows + Shift + R, drag over the area and select Start. Select Stop when you're done and save the clip. We use Game Bar, Windows + Alt + R, when only one app is needed.
Does Windows 11 have a built-in screen recorder?
Yes, two. The Snipping Tool records any area of the screen, and Xbox Game Bar records the active app. Clipchamp, Microsoft's editor, records as well.
Can I record with sound?
Yes. The Snipping Tool's recording toolbar has a microphone button and a speaker button for system audio. We'd switch them on before Start.
Why won't Game Bar record my desktop?
Game Bar follows an app window and doesn't record the desktop or File Explorer. For those we use the Snipping Tool, which records whatever passes through the chosen area.
Where are screen recordings saved?
Game Bar saves to Videos\Captures. The Snipping Tool asks where to save, or uses the folder in its settings. Clipchamp exports to the folder you choose.
How long can a recording be?
Game Bar has a maximum length under Settings, Gaming, Captures. We know of no published limit for the Snipping Tool, and long clips mostly depend on disk space.
Can I screen record on Windows 10 without software?
Yes, with Game Bar. Windows + Alt + R starts and stops the recording of the active app. The Snipping Tool on Windows 10 takes pictures only.