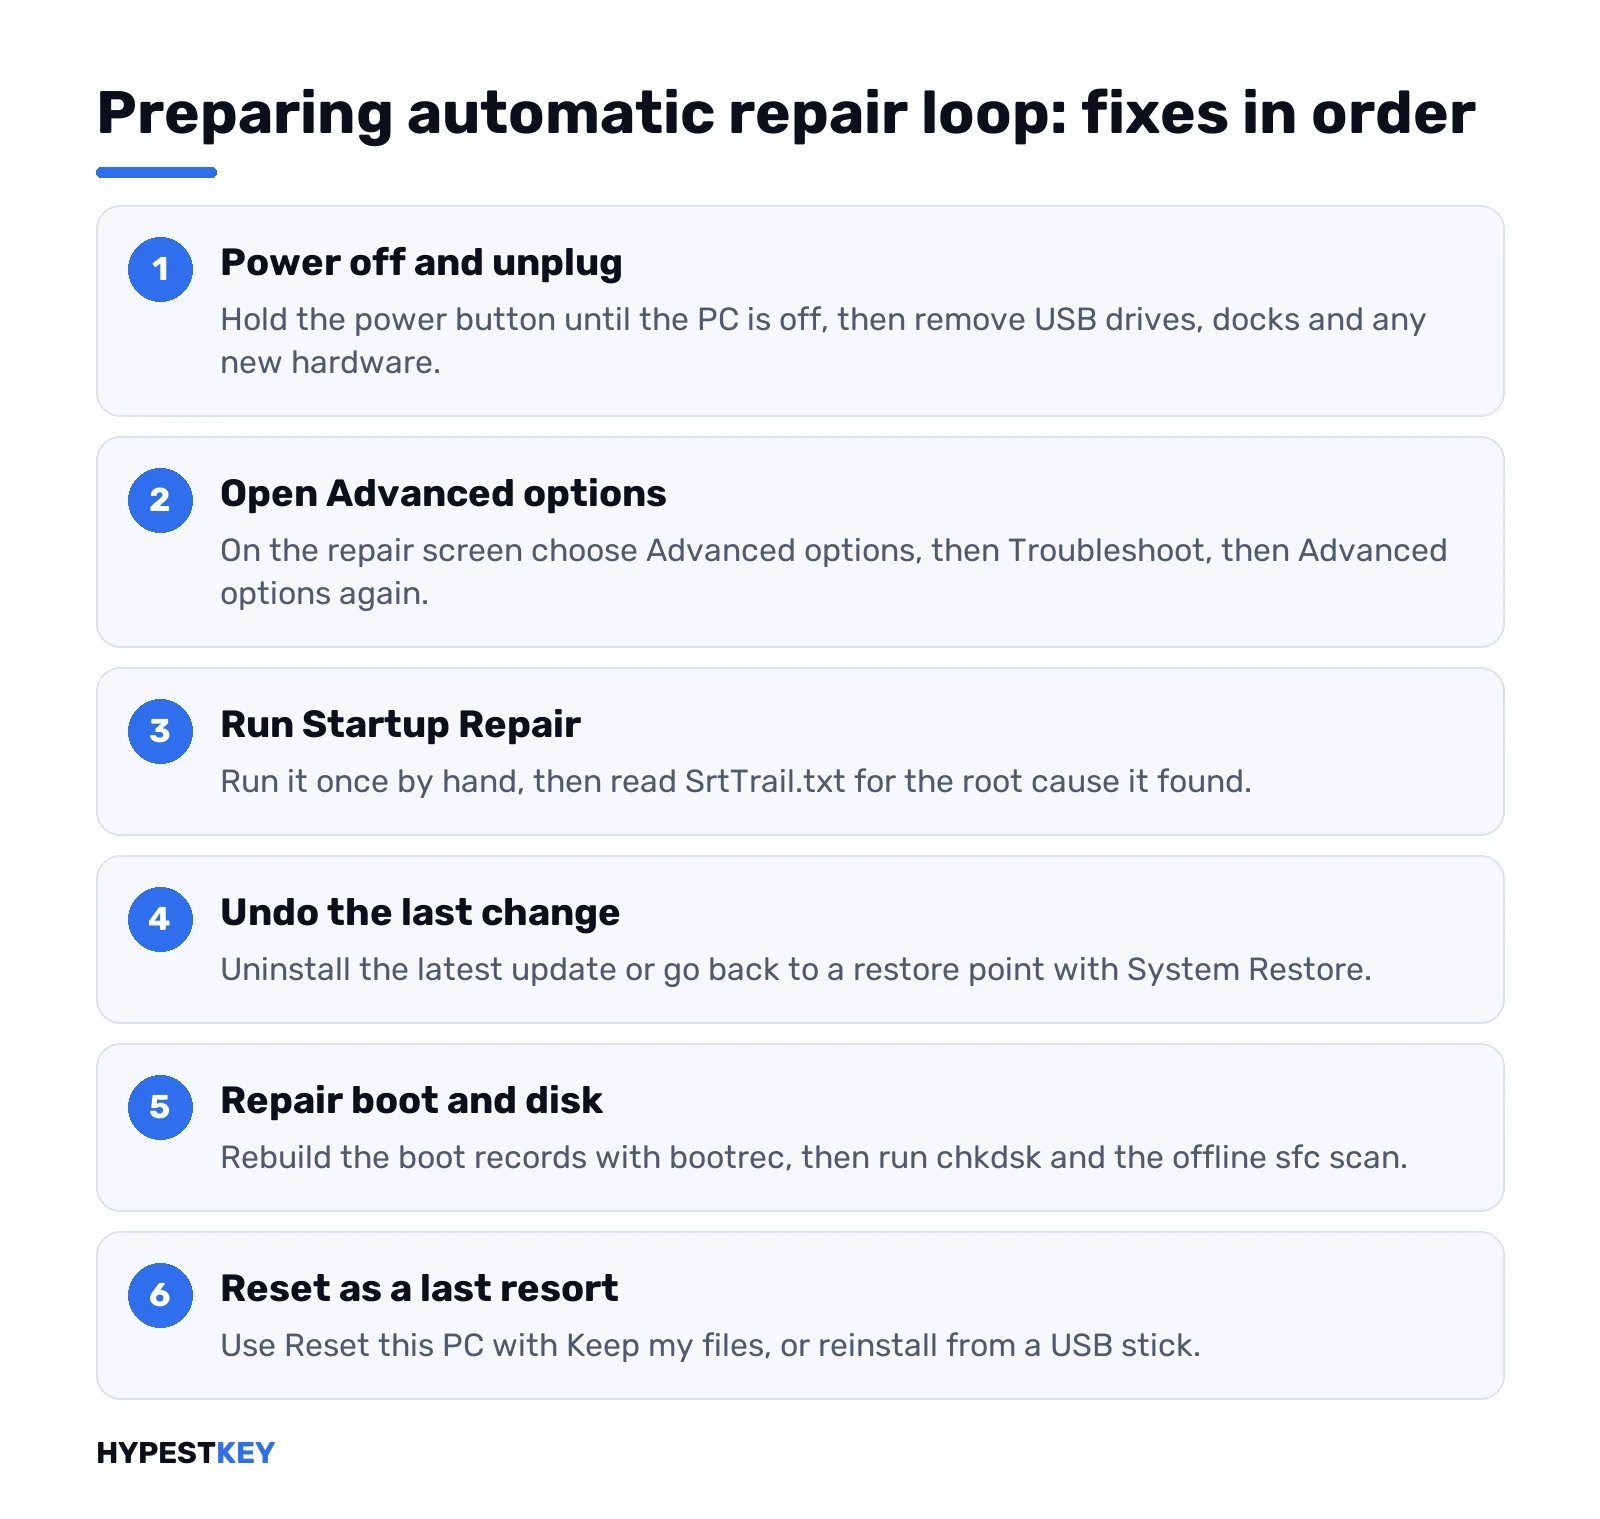
Short answer: A preparing automatic repair loop happens when Windows fails to start twice and the built-in repair can't fix the cause. Choose Advanced options. Run Startup Repair, uninstall the last update or use System Restore, then we'd rebuild boot files and check the disk. Reset this PC with your files kept comes last.
A preparing automatic repair loop means Windows failed to start twice in a row, opened its recovery tools, tried to fix itself and restarted into the same failure. The way out is the Advanced options button on the repair screen. From there, these fixes go from least to most drastic.
- Force the PC off, unplug USB drives and docks, then start it again.
- On the repair screen, choose Advanced options instead of Restart.
- Run Startup Repair and read the log it leaves.
- Uninstall the latest update, or go back to a restore point.
- Rebuild the boot files from Command Prompt.
- Check the disk and repair system files offline.
- Try Safe Mode, then Startup Settings option 9 to stop the auto-restart.
- Last resort: reset or reinstall Windows, keeping your files where you can.
Why Windows gets stuck in the preparing automatic repair loop
The trigger is simple. Windows Recovery Environment, WinRE for short, starts on its own after specific failures:
- two failed attempts to start Windows in a row;
- two unexpected shutdowns within two minutes of boot completing;
- two reboots within two minutes of boot completing;
- a Secure Boot error;
- a BitLocker error on touch-only devices.
So the loop itself isn’t the problem. It’s the symptom. Something breaks the start, WinRE opens, automatic repair can’t fix that something, and the cycle repeats.
What usually sits behind it? A driver or update that went in just before the trouble. Damaged boot configuration data. File system errors on the system drive. Corrupt system files. Sometimes a dying drive. Startup runs in four phases. We’d expect a repair loop in the boot loader or kernel phase, the two that Microsoft’s startup troubleshooting guide covers in depth.
One thing worth knowing about the screen. “Preparing Automatic Repair”, then “Diagnosing your PC”. Then “Automatic Repair couldn’t repair your PC”. Two buttons under it: Shut down and Advanced options. You’re in the right place.
First moves before any repair tool
Cheap things first. They fix more loops than you’d expect.
- Hard power off. Hold the power button until the PC is fully off. Laptop? Unplug the charger too, then wait a minute.
- Strip it down. External drives, USB sticks, card readers, docks, a second monitor. Anything new.
- Undo hardware changes. Added RAM or a new SSD the day it started? Take it out and try again.
- Firmware settings. Changed the storage mode or boot order in the BIOS lately? Put it back. Our guide to Secure Boot settings in the firmware shows where those menus live.
Still looping? Let the screen get to the blue “Choose an option” menu. If it never gets there, interrupt the start twice during the Windows logo by holding the power button. On the third start the repair screen should appear.
Getting from the repair screen to Advanced options
Clicking Restart just repeats the loop. Go this way instead:
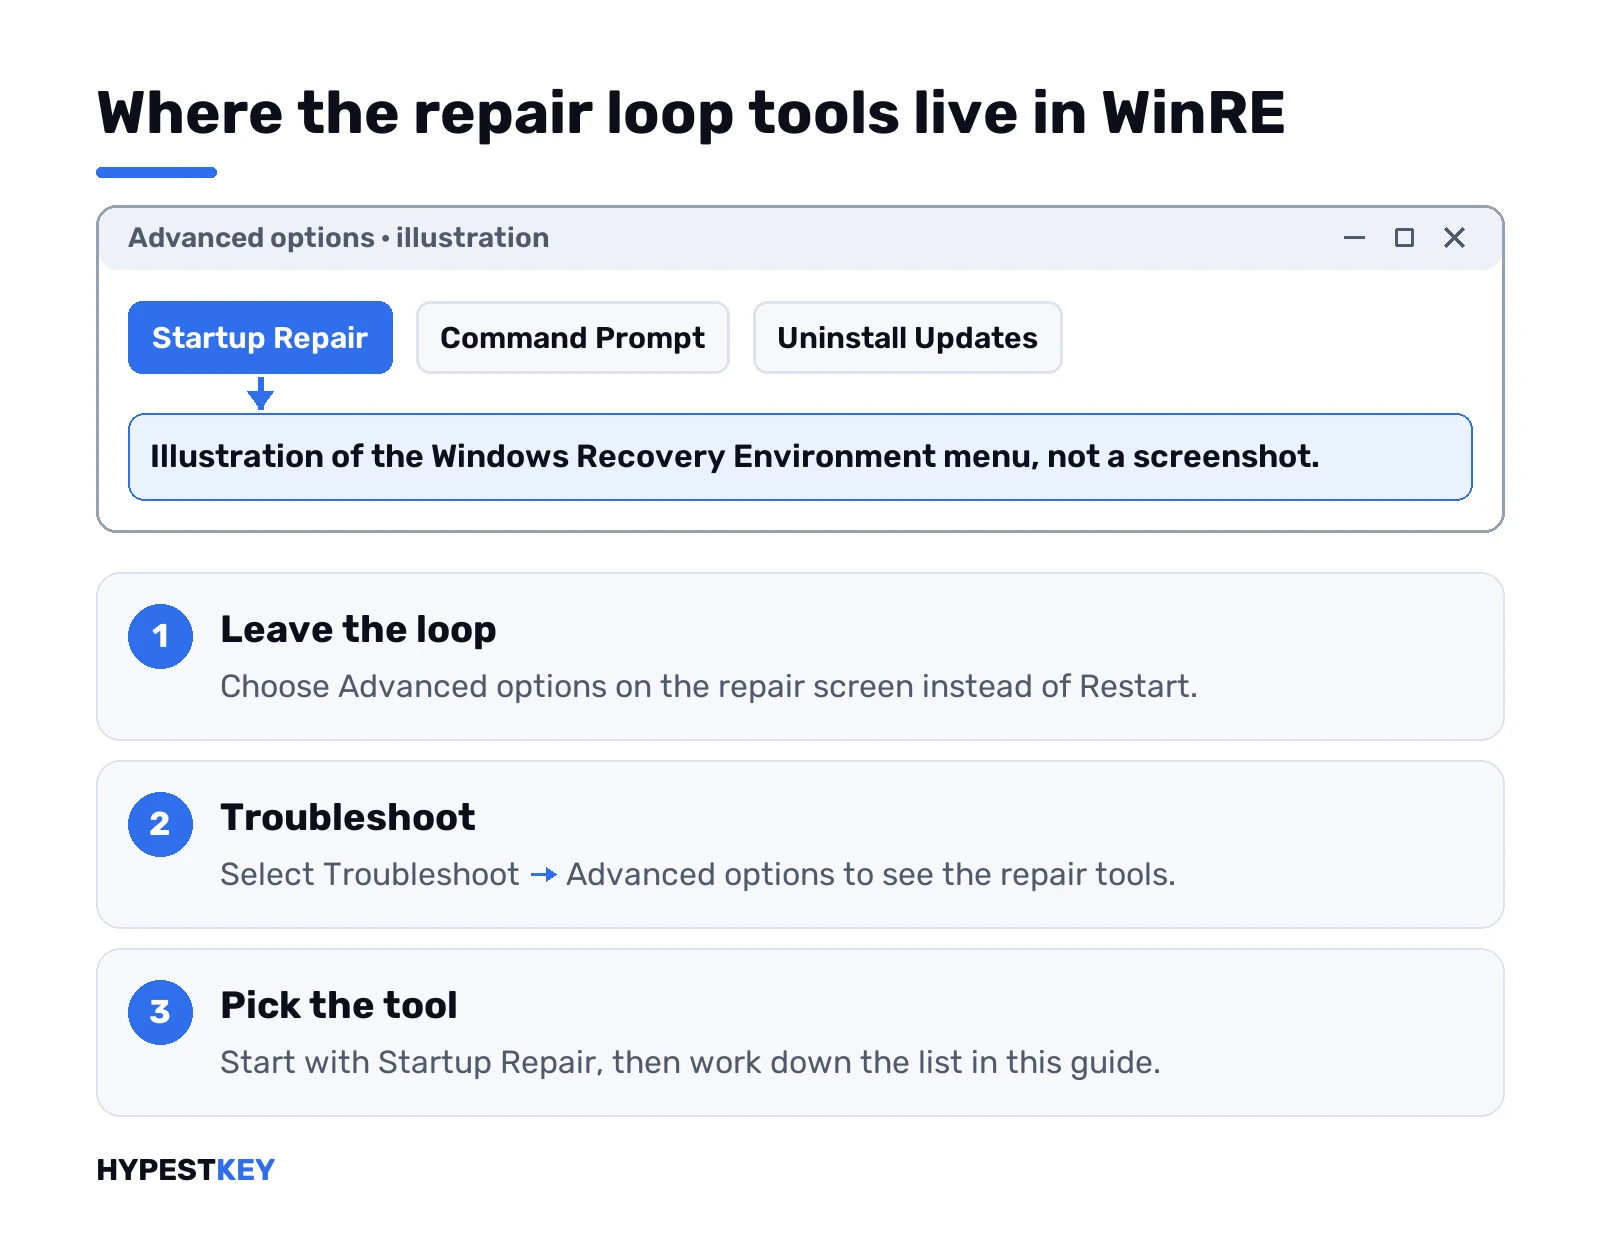
- Advanced options.
- Troubleshoot.
- Advanced options again.
That last menu holds everything this guide uses, as listed on the Windows Recovery Environment page. Startup Repair. Startup Settings. Command Prompt. Uninstall Updates. UEFI Firmware Settings. System Restore and System Image Recovery. Some PCs also show point-in-time restore here.
BitLocker on? Most WinRE tools ask for the recovery key first. Find it before you start, on another device, through your Microsoft account. Our BitLocker guide for Windows 11 covers where it’s stored.
No repair screen at all? Boot from a Windows USB stick made on another PC. Language, Next, Repair your computer. Same menus. We’d make that stick with the Windows 11 Media Creation Tool, and the bootable Windows 10 USB guide covers the older version.
Startup Repair and the log it leaves
Yes, it’s the same tool that just failed. Run it by hand once anyway. Troubleshoot, Advanced options, Startup Repair. When it finishes, shut down and start the PC normally.
Failed again? The log tells you why. Command Prompt from the same menu, then:
notepad C:\Windows\System32\LogFiles\Srt\SrtTrail.txtLook at the root cause line. A named driver file, a disk error, a boot configuration problem. That points to the right section below. Drive letters can shift in WinRE, so if C: shows nothing, try D:.
Undo the last update behind the repair loop
Loop started right after Windows Update? Then the update is the prime suspect.
- Uninstall Updates. Troubleshoot, Advanced options, Uninstall Updates. Remove the latest quality update first. Then the latest feature update if that didn’t help.
- System Restore. Rolls system files, drivers and settings back to a restore point. Personal files stay. Only works if restore points existed, so we’d set them up later with our guide to creating a restore point in Windows 11.
- Point-in-time restore. On newer Windows 11 builds. It rolls back everything, personal files too, and keeps points for up to three days.
Update stuck as pending and the menu option fails? Microsoft’s own fix from WinRE Command Prompt. List the packages first:
DISM /image:C:\ /get-packagesAnything marked as install pending gets reverted with:
DISM /image:C:\ /cleanup-image /revertpendingactionsUpgrade that failed and rolled back on its own? That’s a different code. Our clean Windows 11 install guide covers starting fresh if the upgrade path keeps breaking.
Fix the boot files from Command Prompt
SrtTrail mentions boot configuration? Or the loop came after a disk clone or a second OS? Then rebuild the boot records. Command Prompt in WinRE, one line at a time:
bootrec /fixmbr
bootrec /fixboot
bootrec /scanos
bootrec /rebuildbcd
Restart after each attempt. If rebuildbcd finds no Windows install, back up the old store and build a fresh one:
bcdedit /export C:\bcdbackup
attrib C:\boot\bcd -r -s -h
ren C:\boot\bcd bcd.old
bootrec /rebuildbcd
UEFI PC and the bootrec commands didn’t help? Microsoft’s alternative rewrites the boot files from the Windows folder. Here D: is Windows and R: the small FAT32 system partition, as diskpart shows them:
bcdboot D:\Windows /s R: /f ALLThe ALL part writes both UEFI and legacy BIOS files. Our Windows 10 USB and BIOS guide explains that split.
Check the disk and repair system files offline
File system damage? Classic repair loop cause. Command Prompt in WinRE, then:
chkdsk C: /f /rThe /r part reads every sector, so a big drive takes a long time. Let it run.
Then system files. Normal sfc won’t work from WinRE because Windows isn’t running. The offline version points it at the installed copy:
sfc /scannow /offbootdir=C:\ /offwindir=C:\WindowsNot sure which letter holds Windows in WinRE? Run diskpart, then list vol, and look for the big NTFS volume. Type exit to leave diskpart.
Chkdsk reports bad sectors it can’t fix? Copy your files off soon. A repair loop on a failing drive comes back no matter what else you do.
Safe Mode and Startup Settings for a repair loop
Safe Mode loads a minimal set of drivers. If the loop comes from a third-party driver or app, Windows often starts this way.
- Troubleshoot, Advanced options, Startup Settings, Restart.
- Press 4 for Safe Mode, or 5 for Safe Mode with Networking.
- In Safe Mode, uninstall whatever you added last. Driver, antivirus, tuning tool.
Two other entries on the same screen matter here:
- 8, disable early launch anti-malware protection. For a one-off test when security software is the suspect.
- 9, disable automatic restart on system failure. Meant exactly for the fail, restart, fail cycle. Instead of rebooting, Windows stops on the error, so you can read the stop code.
Route details for each version: our Windows 11 Safe Mode guide and the steps to enter Safe Mode on Windows 10.
Stopping the preparing automatic repair loop while you work
Need the PC to stop throwing you into automatic repair while you test fixes? Microsoft gives a command for exactly that cycle. Command Prompt in WinRE:
bcdedit /set {default} recoveryenabled noIt doesn’t fix anything. It just hides the repair screen, so you see the real error instead. Turn it back on once the PC starts properly:
bcdedit /set {default} recoveryenabled yesWe’d only use this for a test or two. Left off, a future boot failure gives you no recovery screen.
When nothing works: reset or reinstall without losing files
Order matters here, because each option takes away more.
| Option | Where | What stays |
|---|---|---|
| Reset this PC, keep my files | WinRE, Troubleshoot | Personal files. Apps and settings go. |
| Reset this PC, remove everything | WinRE, Troubleshoot | Nothing |
| Reinstall from a USB stick | Boot from installation media | Your choice: files and apps, files only, or nothing |
| Recovery drive | Boot from a recovery drive made earlier | Nothing |
Want files out before any of that? Boot the USB stick and open Command Prompt. Type notepad. Then File, Open works as a mini file browser for copying folders to an external drive. Slow, but it works with no extra software.
Step by step for the reset itself: factory reset Windows 11. Going for a fresh install? See installing Windows 11 from USB or the clean install of Windows 10.
Activation after a reinstall on the same PC? Usually it comes back by itself through the digital license. If it doesn’t, we’ve covered the product key route on our page on how to activate Windows 11. And if the old install never had a proper license, a Windows 11 Pro key from us arrives instant to email.
Related guides
FAQ
How long should Preparing Automatic Repair take before I give up?
Usually a few minutes. Screen sits there with no disk activity for ages? Or comes back after every restart? Treat it as a loop and go to Advanced options.
Can I just skip automatic repair and boot normally?
Sometimes. On the repair screen try Advanced options, then Continue to exit to Windows. Back in the loop? Then a real start problem is underneath, and we'd work through the fixes.
Will these fixes delete my files?
Nope, not most of them. Startup Repair, Uninstall Updates, System Restore, chkdsk, sfc and the bootrec commands leave personal files alone. Only reset with remove everything, or a clean install, wipes them.
The loop started after a BIOS update. What now?
Check the firmware settings first. A BIOS update can reset the storage mode or boot order. Set them back to how they were, then try Startup Repair.
Is it a hardware problem?
Possibly. If chkdsk reports bad sectors it can't fix, or the drive vanishes from diskpart, the drive is likely failing. Copy your files off and replace it before reinstalling.
It asks for a BitLocker recovery key. Where is that?
Usually in the Microsoft account used on the PC, viewable from another device. Work PC? Ask the IT department, they often hold it.
Does the loop affect my Windows activation?
No. A repair or reset on the same hardware keeps the digital license. After a reinstall we'd just connect to the internet, and Windows normally activates again by itself.