Short answer: To create a restore point in Windows 11, search for "Create a restore point". Turn on System Protection for drive C, then select Create. A point saves system files, apps, registry and settings. Personal files aren't included. I'd make one before every driver or registry change.
To create a restore point in Windows 11, search Start for “Create a restore point”, open it and select Create. One thing comes first: System Protection is off by default. Without it the button stays grey. We’d switch it on today, before it’s needed.
| Question | Short answer |
|---|---|
| What does a restore point save? | System files, installed applications, the registry and system settings |
| What doesn’t it touch? | Personal files: documents, photos, mail |
| Is it on by default? | No. System Protection has to be turned on |
| Where is it? | System Properties, System Protection tab |
| How do I go back to one? | With System Restore |
The steps follow Microsoft’s support article System Protection.
What a restore point is good for
Microsoft describes restore points as snapshots of the system at one moment. Going back to one undoes changes to Windows itself and leaves personal data alone.
| Helps with | Doesn’t help with |
|---|---|
| A driver that broke something | A deleted document or photo |
| A program whose installer damaged settings | A failed disk |
| A registry change gone wrong | Files encrypted by ransomware |
| An update that misbehaves | Moving to a new PC |
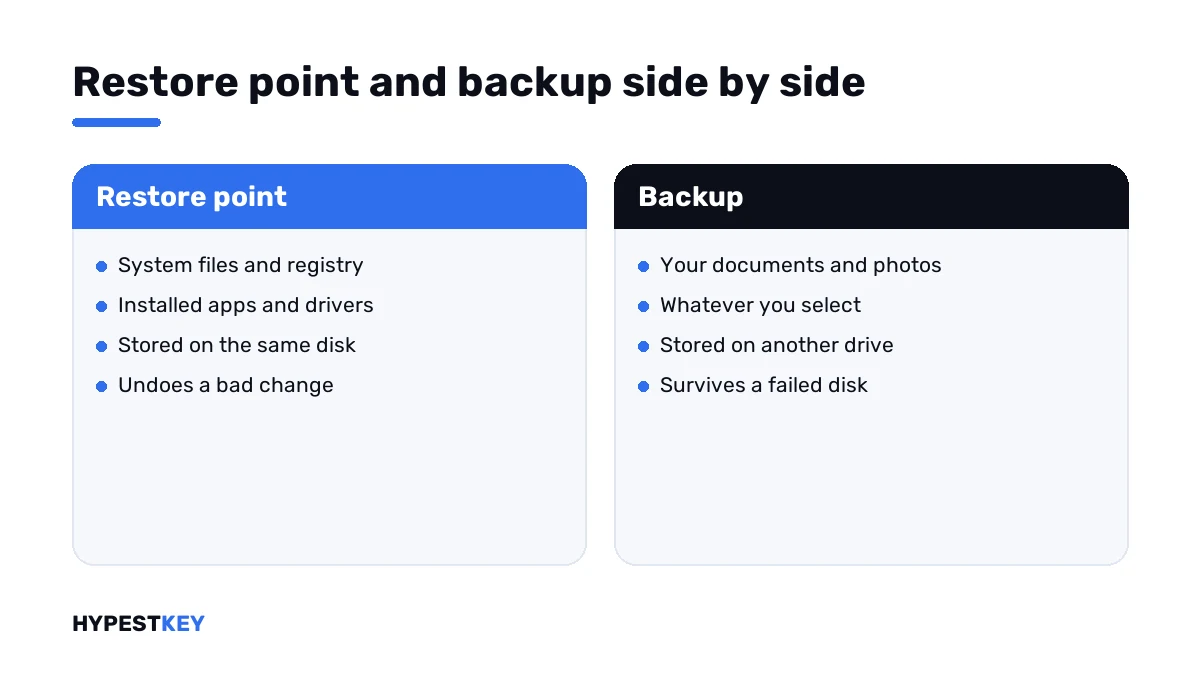
So a restore point isn’t a backup. It sits on the same disk as Windows and saves none of your own files.
Turning on System Protection
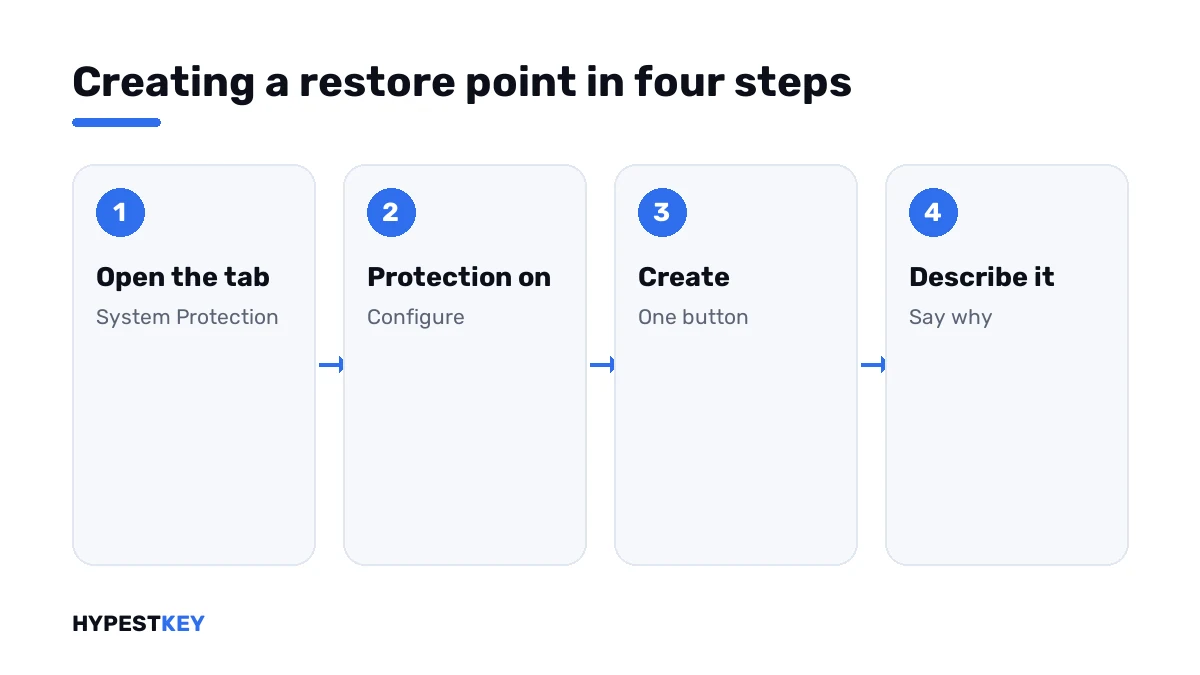
Open the System Protection tab first. There are two quick ways.
| Way | How |
|---|---|
| Search | Select Start, type Create a restore point and open the result |
| Run box | Press Windows + R, type systempropertiesprotection.exe and press Enter |
Then switch protection on for the system drive.
| Step | Where |
|---|---|
| Select the system drive in the list | Usually C:, marked System |
| Select Configure | Below the list |
| Select Turn on system protection | Top of the dialog |
| Set the slider for disk space | Max Usage |
| Select Apply | Bottom of the dialog |
Once it’s on, Microsoft says, Windows creates restore points automatically when needed. A few percent of the drive is plenty for the slider on most PCs; old points are deleted as the space fills.
How to create a restore point in Windows 11
With protection on, a manual point takes a minute.
- Select Start and type Create a restore point.
- Open the result; the System Properties dialog shows the System Protection tab.
- Check that Protection says On for the system drive.
- Select Create.
- Type a description you’ll recognise later, such as “before graphics driver”.
- Select Create and wait for the message that the point was created.
Windows adds the date and time itself. The description only has to say why.
Creating one from PowerShell
Administrators script it. Open Windows PowerShell as administrator and run:
Checkpoint-Computer -Description "Before driver update" -RestorePointType "MODIFY_SETTINGS"
Get-ComputerRestorePoint
The first line creates the point. The second lists the existing ones. By default Windows accepts one point from this command per 24 hours, so a second run on the same day may be skipped.
Checking the space they use
The Configure dialog shows Current Usage for the drive. A command prompt opened as administrator gives the same figures in more detail:
vssadmin list shadowstorageIt prints the used, allocated and maximum space. If the used figure sits at the maximum, older points are being pushed out, and we’d raise the slider a little.
When to make one by hand
- Before installing or updating a driver.
- Before editing the registry.
- Before installing a program from a source you don’t know well.
- Before a large Windows update, if automatic points are few.
- Before changing system settings on someone else’s PC.
Going back to a restore point
Microsoft’s name for the way back is System Restore.
| Situation | Path |
|---|---|
| Windows starts | The same System Protection tab, then System Restore |
| Windows starts, by command | Windows + R, then rstrui.exe |
| Windows doesn’t start | Recovery screen: Troubleshoot, Advanced options, System Restore |
The wizard lists the points with date and description. “Scan for affected programs” shows which programs and drivers a point would remove or bring back.
The PC restarts during the restore. Programs installed after the chosen point are gone afterwards; your documents are where they were.
From the sign-in screen, Shift and Restart open the recovery screen. Our page on Windows 11 safe mode describes the ways in.
If the button is grey or the point is missing
| Sign | Cause | Fix |
|---|---|---|
| Create is greyed out | Protection is off for the drive | Configure, Turn on system protection |
| No points in the list | Protection was off until now | Create one; older states can’t be recovered |
| Old points have vanished | The reserved space filled up | Raise the slider |
| Points vanished after a big update | A feature update replaces the system, and older points may not survive it | Create a new one afterwards |
The last row surprises people. I’d check the tab after every feature update and make a fresh point.
When a restore point isn’t enough
- Windows needs a full reinstall: factory reset Windows 11.
- Start over on an empty disk: clean Windows 11 installation.
- Back to the previous system: Windows 11 to 10.
- Updates that take forever: Windows 11 update time.
- Network trouble after a change: Wi-Fi problems in Windows 11.
A restore doesn’t touch activation. If the status looks wrong afterwards, see check Windows activation status and how to activate Windows 11.
System Protection works the same on every edition: see our overview of the Windows 11 editions. For a new PC we send the Windows 11 Pro key instant to email, and the rest are under Windows 11 keys.
Mistakes we see most
- Assuming restore points exist when protection was never switched on.
- Treating a restore point as a backup of documents.
- Naming every point “test”.
- Setting the slider so low that only one point fits.
- Restoring to a very old point and losing months of installed programs.
Terms used on this page
| Term | Meaning |
|---|---|
| Restore point | A snapshot of system files, installed applications, registry and settings |
| System Protection | The Windows feature that creates and stores restore points |
| System Restore | The wizard that returns Windows to a restore point |
| Registry | The database where Windows and programs keep their settings |
| Recovery screen | The Windows Recovery Environment, used when Windows won’t start |
FAQ
How do I create a restore point in Windows 11?
Search Start for "Create a restore point" and open it. Select Create on the System Protection tab, type a description and confirm. I'd check first that protection is on for drive C.
Why is the Create button greyed out?
System Protection is off for the drive. Microsoft says it isn't enabled by default. We select Configure and turn protection on, and the button becomes available.
Does a restore point save my files?
No. It covers system files, installed applications, the registry and settings. I'd keep a separate backup for documents and photos.
How do I restore Windows 11 to a restore point?
Open the System Protection tab and select System Restore, or run rstrui.exe. Choose a point and confirm. If Windows won't start, we use Troubleshoot, Advanced options, System Restore on the recovery screen.
Does Windows 11 create restore points automatically?
Once System Protection is on, yes. Microsoft says points are then created automatically when needed. I'd still make one by hand before risky changes.
How much disk space do restore points need?
As much as the slider under Configure allows. Older points are deleted when the space fills. We'd give it a few percent of the system drive.
Will System Restore remove my programs?
Programs and drivers installed after the chosen point are removed. Scan for affected programs lists them beforehand. I'd read that list before confirming.